


Tire problems are by a significant margin the number-one cause of vehicle trouble in the backcountry, whether you are exploring Nevada or Namibia.
Yet I’m astonished at how many people still rely on a single spare as backup on remote excursions. So you have a puncture and mount the spare—what if it happens again before you can reach a tire shop? (Please don’t mention Fix-a-Flat.)
It’s much better to be self-sufficient. With a few tools, a good air compressor, and a proper repair kit, you can handle any tire mishap short of a shredded blowout.
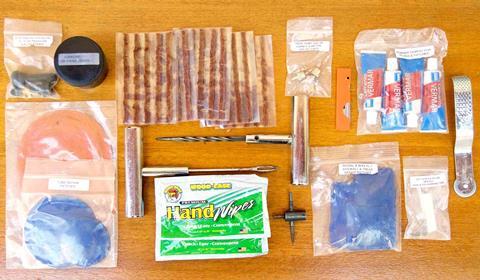
Plug Kits
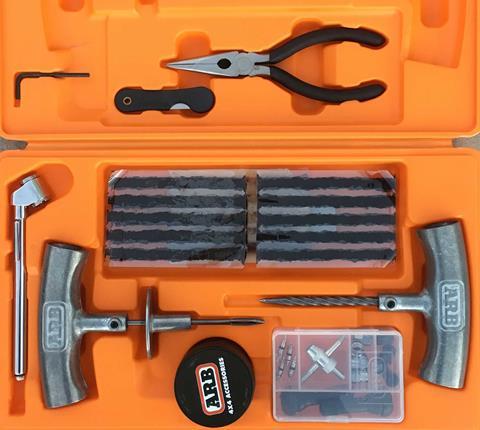
The easiest way to fix a simple puncture is with a plug kit. A tire plug comprises a short length of rubber-adhesive-impregnated nylon yarn, which is inserted into the puncture with a special tool after reaming the puncture with another tool.
But skip the cheap auto-parts-store kits—plugging involves a fair amount of force, and you don’t want to push very hard on a plastic-handled tool embedded with a steel rod. High-quality plug kits with metal-handled tools come from ARB, Safety Seal, and Extreme Outback, among others.
Plugging A Tire
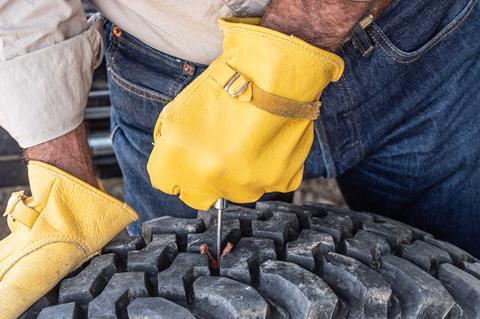
Picture yourself at the side of the trail with a slowly deflating tire. Don’t bother with the jack; just slowly roll the vehicle until you can access source of the leak—let’s say a nail embedded in the tread.
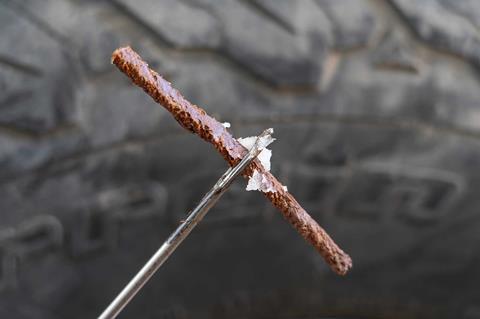
First, prepare the plug in advance to minimize leakage. Pull a plug free from its cellophane packaging—you’ll find it difficult due to the adhesive, but surprisingly it doesn’t stick to your fingers.
Pinch one end flat, insert it into the eye of the insertion tool, and pull to its midpoint. Your plug kit should come with a tub of lubricant; dunk the tip of the insertion tool in it to adhere a small glob to the middle of the plug.
With a multi-tool or pliers, yank out the offending bit. The next step is completely unintuitive: You’re going to make that hole bigger, so the plug can fit.
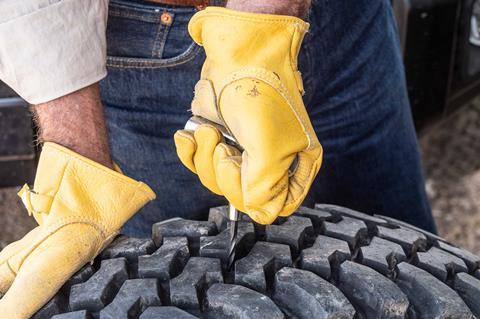
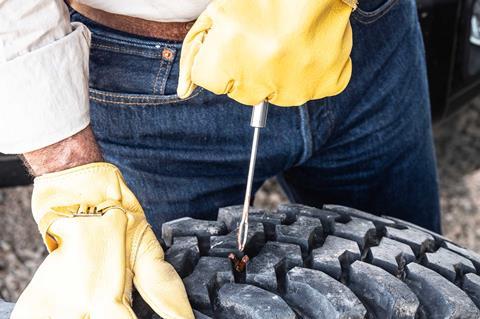
Insert the spiral-grooved reamer into the hole—it might take some shoving—then work it in and out briskly a few times. Don’t be gentle. Once it moves back and forth easily, set it aside and insert the tip of the tool and the plug into the puncture. Again, you’ll need a strong shove to get the tip and the doubled plug into the tire, but be careful not to shove it in all the way (some plug tools have a sleeve to prevent this).
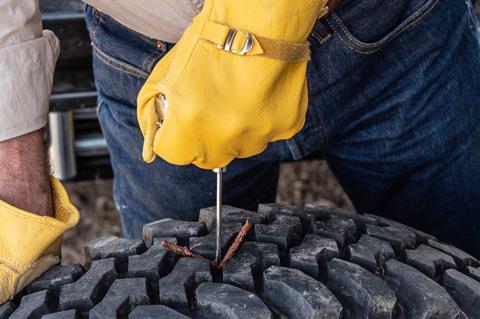
Push until just a half inch or so of the tips of the plug shows above the tread, then pull the tool straight back out. The split edge of the eye will pull the middle of the plug back into the puncture then free the plug so the tool pulls out, leaving the plug in place and the puncture sealed instantly.
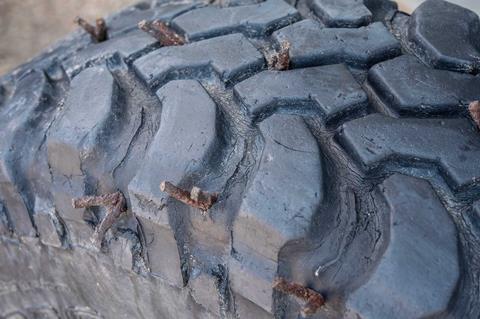
Trim the plug as flush as possible with a knife or razor blade, and you’re finished. (Tip: If the tire has deflated enough so that pushing on the insertion tool just pushes in the face of the tire, add some air with your compressor to give it more resistance.)
Tire manufacturers warn that a plug is a temporary fix, although I’ve plugged nearly new tires and then driven them to replacement mileage without trouble. I have a BFG MT I use for teaching that has 30-plus plugs in it… and still holds air.
Still, once you’re back near a tire store it’s a good idea to have the hole patched from the inside.
Sidewall Repair
If the hole is larger in diameter than one plug will seal, try two—or three, or four. My friend Tim once repaired a sidewall split with no fewer than five, and it got him back to civilization. However, note that any repair in the sidewall is strictly an emergency fix. The sidewall lacks the structural integrity of the belted tread area—it’s designed to flex and can’t support the plug as well.
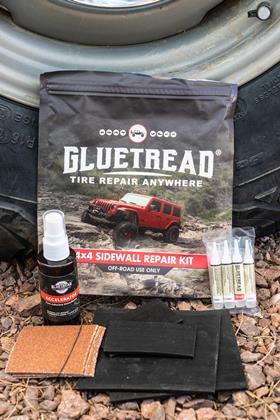
A better repair for a sidewall split is a patch, which I used to do from the inside, after unseating the bead and demounting the tire. Now I patch from the outside with a Gluetread kit, which employs heavy-duty patches and even heavier-duty adhesive, able to withstand pressure from inside the carcass. However, it’s still a temporary fix.
Reseating the Bead
Speaking of unseating the bead, you can sometimes accomplish this unwittingly, especially if the tire is aired down significantly and even more especially if you’ve been indulging in a bit of hooning.
The sideways force exerted by over-enthusiastic driving pops the tire’s heavy rubber-encased bead out of the groove that secures it in the wheel, and instant, total deflation is the result. In the incidents I’ve witnessed this almost invariably happens on the outside of the wheel—and if you have an air compressor it’s generally possible to rectify it right there.
You can sometimes reseat a bead by jacking the wheel up and leaving it in place, but it’s easier with it off. There’s a persistent myth that you need a large volume of air, and a powerful compressor (or a CO2 tank) certainly helps, but I’ve done it with very small compressors and proper technique—as long as the wheel is not too wide for the tire.
If you run showpiece alloy wheels 10 or 12 inches in width, so your tires’ sidewalls barely protrude past them, you might have a devil of a time reseating beads in the field—and you’ll also stand a much greater chance of damaging a wheel rim on the trail, since there’s no protection offered by the sidewall.
The steel wheels on our Land Rover 110 and Land Cruiser 70 Series are six inches wide, and I can easily reseat beads on 235/85R16 BFG tires (higher-profile tires help as well, with their more flexible sidewalls).
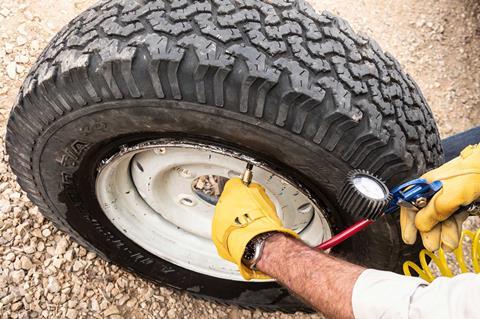
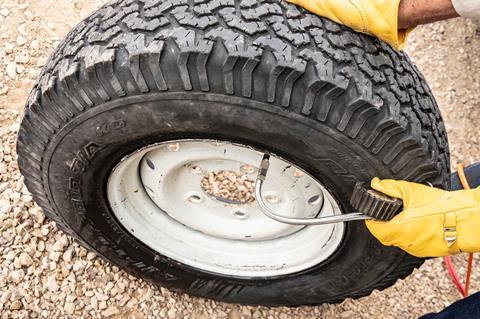
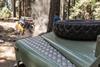
Here’s how it’s accomplished. First, remove the tire’s valve core so you can get as much air in as quickly as possible. (All good plug kits include a valve-core tool.) Stand the tire and wheel upright, and center the tire as evenly as possible in the wheel.
If tire and wheel are well-matched the deflated tire’s bead will naturally bear evenly against the inside of the groove and form a partial seal on its own. Use water, with some detergent in it if you have it, to thoroughly soak the perimeter of the bead—this functions more as a lubricant than a seal. In a pinch any liquid is better than nothing.
Apply the air chuck to the valve and start inflating (you’ll need a chuck that doesn’t key on the valve core to flow). If the tire is not centered properly you’ll see a lot of bubbles in one spot; stop and reposition. If the seal is good you’ll see the tire’s wall expand slowly until, with a distinctly alarming metallic PING, the bead will pop back on. Release the chuck—air will rush out but the beads will stay put. Re-insert the valve core, inflate, and you’re finished.
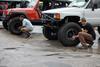
Unseating the Bead
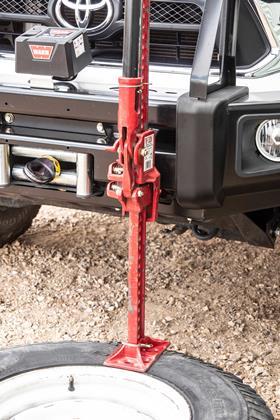
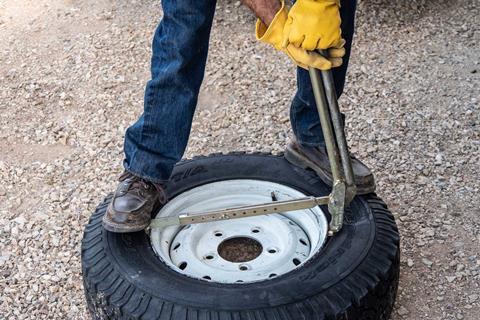
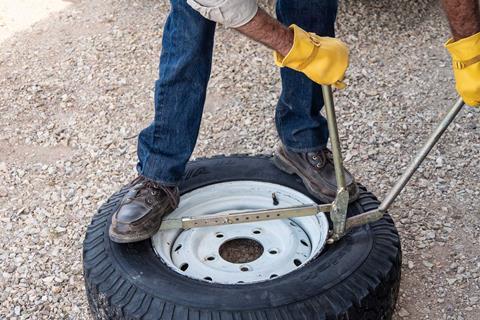
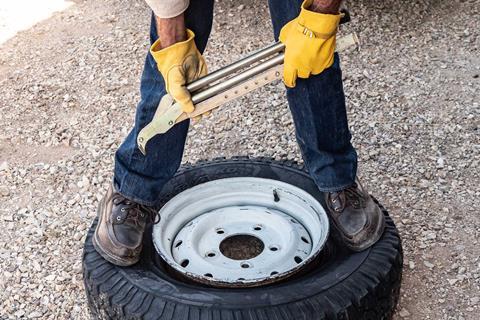
Counterintuitively, it’s frequently necessary to unseat the bead on the back of the wheel in order to re-seat the front and rear simultaneously. You can do this with a Hi-lift jack (see photos) or the more stylish, Australian-made Tyreplier.
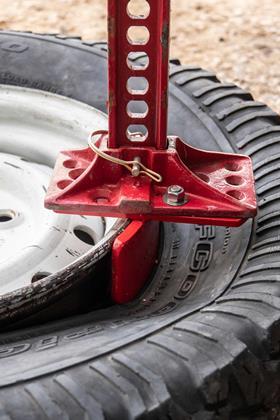
With both beads loose the tire is more apt to sit in the middle of the wheel and seal properly. Lube both beads and proceed as described above. The beads will pop back on one after the other, then you can re-install the valve core and re-inflate.
Final Thoughts
With a good air compressor, a plug and Gluetread kit, and a Hi-Lift jack or Tyreplier, you have the means to solve about 95 percent of all tire problems you’re likely to encounter in the field. You’ll never again have that insecure feeling that comes after installing your only spare.
Editor’s Note
It’s a good idea to practice tire repair before needing to do it for real while out on the trail. Please take extreme caution when doing any type of repair as it could potentially lead to injury or worse if not done safely and correctly. When in doubt, seek professional advice and practice before heading out on your next adventure.
Access More Great Stories!
This article originally appeared in OVR Issue 03. For more informative articles like this, consider subscribing to OVR Magazine in print or digital versions here. You can also find the print edition of OVR at your local newsstand by using our Magazine Finder.
Stay Up to Date With the OVR Trailhead Newsletter
The OVR Trailhead brings you relevant vehicle-based adventure stories and offers direct to your inbox. Join the OVR community today!


No comments yet