


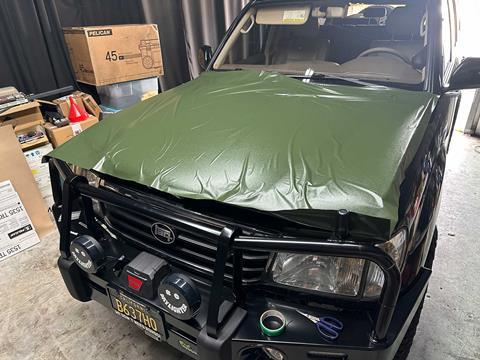
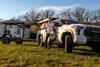
To further protect the fragile (and unsightly) paint on the OVR Land Cruiser project vehicle’s hood and roof, we turned to Avery Dennison’s SW900X Supreme Wrapping Film for help.
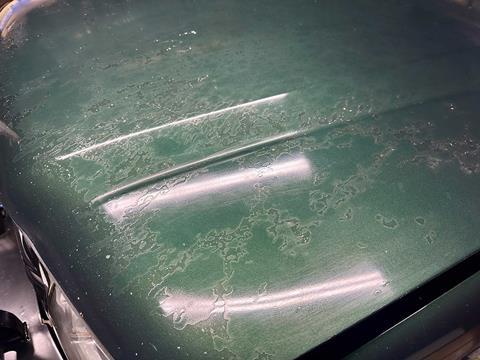
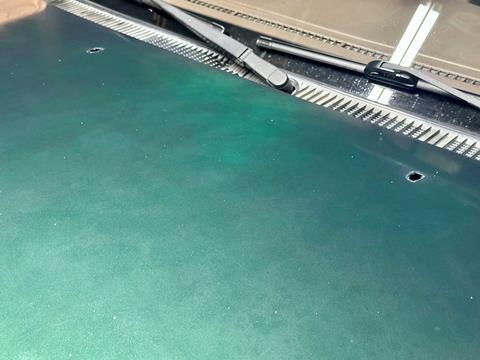
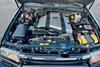
Those who have been following our budget project Land Cruiser’s build from the beginning will know that it came to us with peeling clearcoat and faded paint, with the worst of it being on the hood and roof. We did what we could to “fix” the paint by DIY rattle canning some gloss spray paint on these and other problem areas.
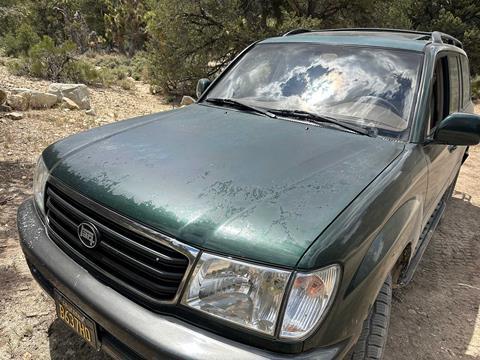
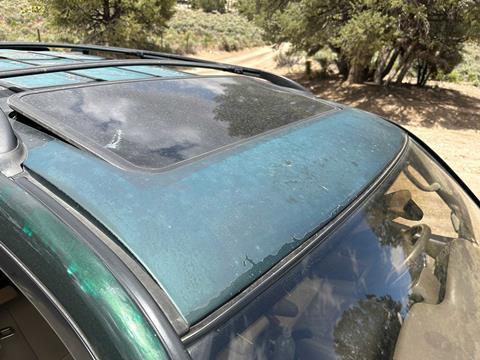
The results were mixed. The areas around the windowsills and door handles came out really good while the roof and hood weren’t as great. The sprayed-on gloss coat was good enough to protect the fragile factory paint from further fading and flaking, but it didn’t look very nice.
Color Match
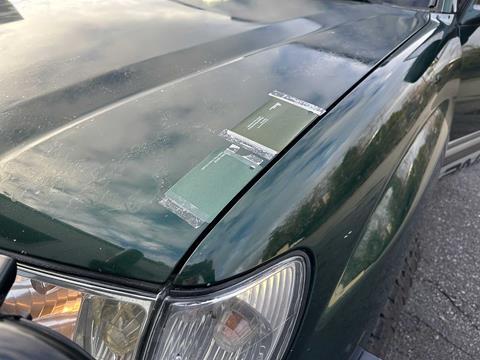
To remedy this and to add another layer of protection, we decided to apply vinyl wrap. We headed to our local vehicle wrapper to look at colors.
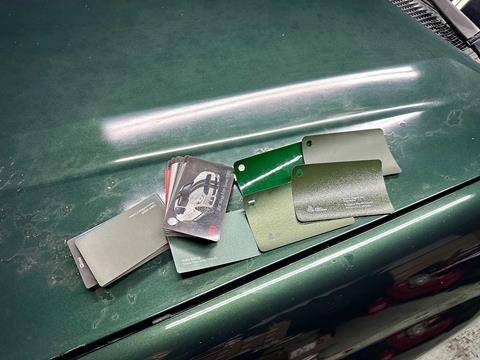
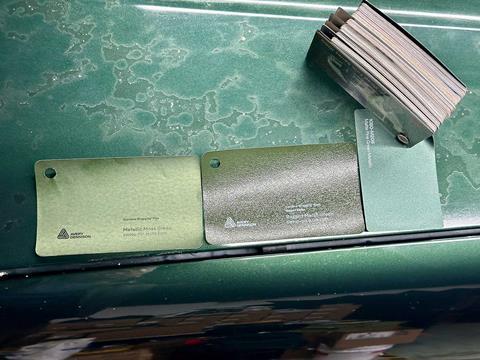
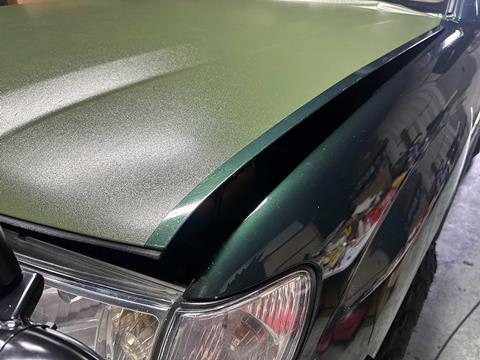
To our dismay, we couldn’t find a color that matched our Land Cruiser’s Toyota Imperial Jade green close enough to our liking. After looking at many vinyl samples, we finally decided to go with a rough texture vinyl made by Avery Dennison.
Rugged Wrap
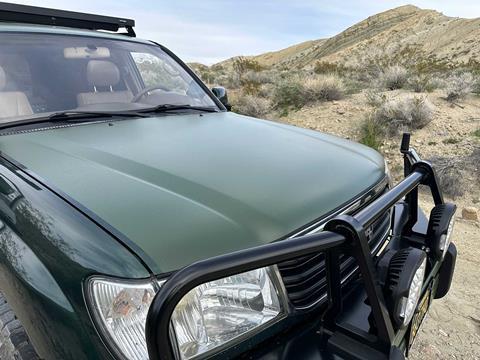
This “special effect” SW900X Supreme Wrapping Film comes in a color called Rugged Marsh Green. This shade of green isn’t like our factory color at all, but we liked the rough texture and it was some kind of green at least. This wrap is also available in other colors such as black, so that is always an option as well.
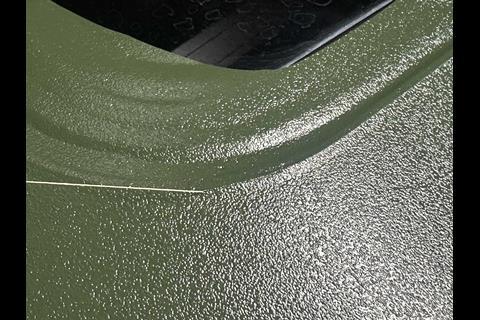
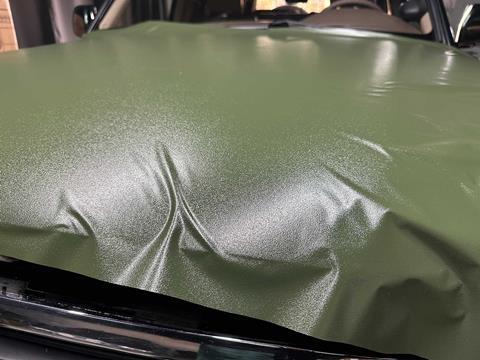
We like how the bedliner-like texture of the wrap has a semi-gloss finish and is much smoother to the touch than real bedliner. This will make it easy to wash and have a distinctive, rugged look.
Having never wrapped anything as big as a hood in vinyl before, we asked the vinyl shop for some tips. They said that the vinyl was very forgiving and not to worry about wrinkles, bubbles or even a mishap where the vinyl ends up sticking to itself during application.
Just pull it apart to unstick it and be patient while working with the material. You can even lay it down on its backer paper and use a bit of heat from a heat gun or hairdryer to relax the material to unwrinkle and reset it to start all over.
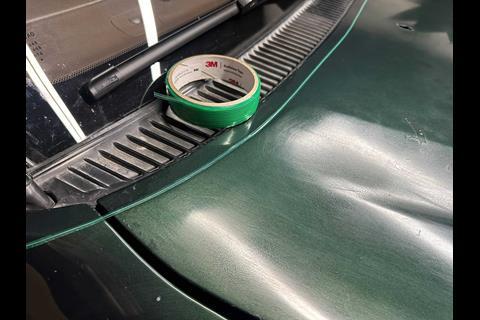
Knifeless Tape
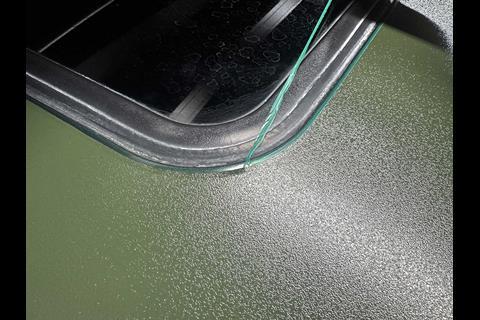
The vinyl shop installer introduced us to 3M’s Knifeless Tape. This tape allows vinyl to be cut cleanly and accurately directly on the vehicle’s body without the use of a blade.
The tape is laid down onto the surface of the vehicle and overlayed with vinyl wrap. Pulling the tape with a sharp motion reveals a thread that cuts the vinyl as you remove the tape. A clear backing that the tape leaves on the vehicle’s surface after the thread is removed is then peeled off and the cut area of the vinyl is pressed down to complete the application.


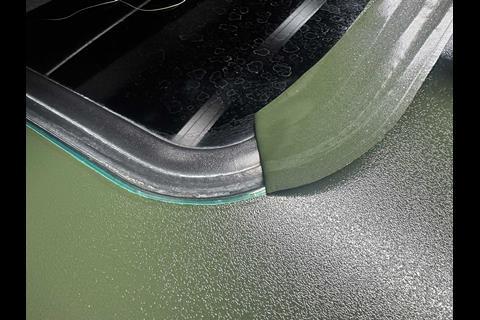
It sounds complicated but it isn’t. It’s a miracle tape if you ask us. We used Knifeless Tape on the hood, roof and as you’ll some read, the front bumper too.
Application
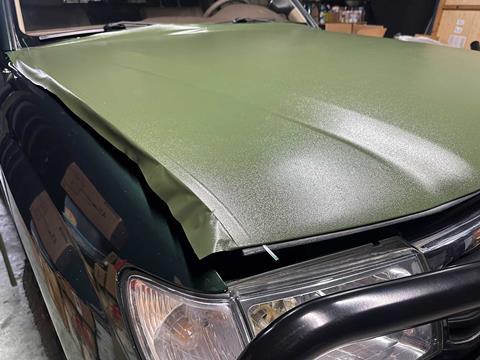
Application isn’t all that complicated actually. We first cut a sheet of vinyl a few of inches bigger than the hood on each side. Remember to measure twice to be sure you have the right dimensions.
We then peeled the backer paper of the vinyl on one of its edges and applied the vinyl to the edge of the hood closest to the windshield. From there, we carefully removed the rest of the backing by pulling it towards the bumper side of the hood.
With the backing removed, we had a giant sheet of vinyl loosely laid on top of the hood. The vinyl is only lightly sticky until pressure is applied to it so we carefully repositioned the wrap to work out the major wrinkles.
After the sheet was decently free of wrinkles and big air pockets, we began to apply pressure to the wrap by using a vinyl application-specific squeegee. We highly recommend using one of these tools if you choose to take on a project like this.
The pro installers were right, the wrap was forgiving to work with. The vinyl was easy to reposition and let small air bubbles out pretty easily. Our application isn’t perfect mind you, but the rough texture of the vinyl hides the imperfections.
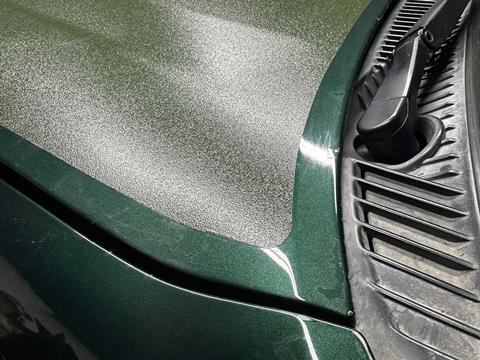
Due to the thin thickness of vehicle wraps, we were told that the scarring of our hood’s pocked clear coat would show through. An unexpected bonus of going with rugged texture vinyl is that its rough surface made the imperfections virtually invisible. If you’re looking to hide bad paint, we highly recommend this vinyl.
Extra Material
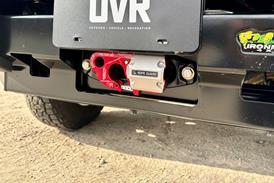
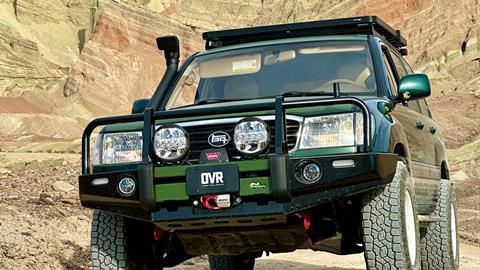
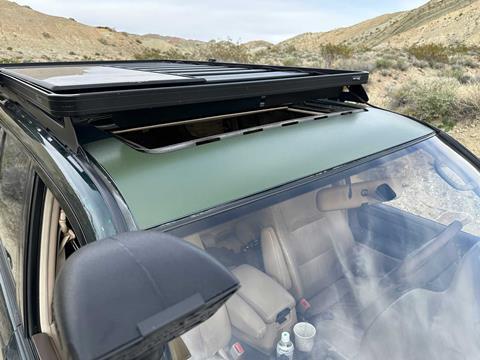
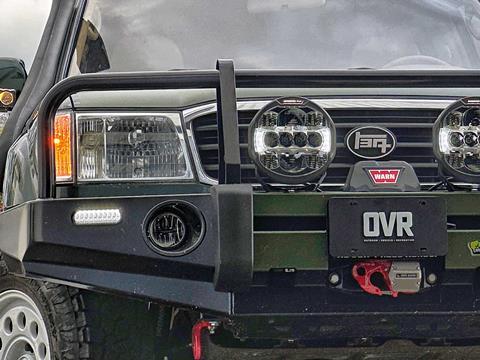
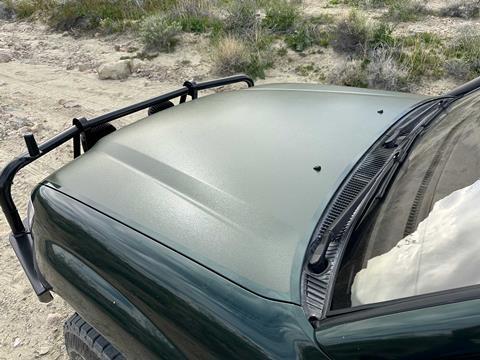
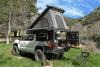
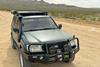
With the hood wrapped and looking much better than before, we took the left-over material and wrapped the front part of the Land Cruiser’s roof and used the remaining pieces to add some color to its Ironman 4x4 front bumper. We think adding wrap to these areas helped tie the look of the hood wrap together some.
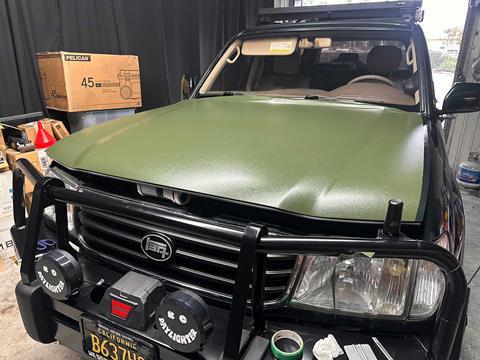
The Results
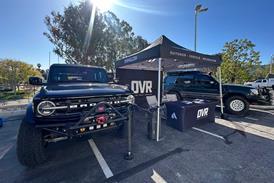
Eventhough the color of the vehicle wrap is a mismatch, we like the overall look. It was surprising to us that at the first show we took the OVR LC100 to, many show-goers ask about the wrap and complimented its look. Compared to the original look of the faded factory paint as well as our spray painted clearcoat, we think this wrap is a definite step up in terms of protection and aesthetics.
Final Thoughts
The addition of Avery Dennison’s SW900X Supreme Wrapping Film to the OVR LC100’s hood and roof further protects the truck from the elements and makes it even more presentable. The application wasn’t difficult and the cost for all the vinyl we used for this project worked out to be about $120, which is much less than getting it professionally painted.
Avery Dennison rates this vinyl to last up to 12 years, but durability is subject to use and environmental conditions. We really like the results and are curious to see how it holds up long term. We’ll follow up with our findings.
Avery Dennison
Rugged Marsh Green SW900-738-X
graphics.averydennison.com
3M
Knifeless Tape
3M.com
Read More About the OVR LC100 Budget Build by Clicking Here!
For more informative articles like this, consider subscribing to OVR Magazine in print or digital versions here. You can also find the print edition of OVR at your local newsstand by using our Magazine Finder.
No comments yet